How To Fix Your Water Heater Leaking From The Top 2022
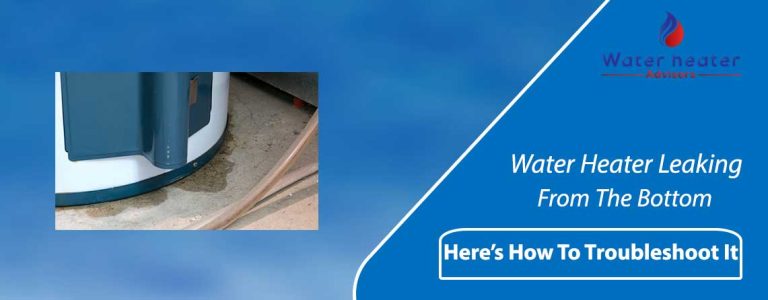
It is common for a hot water heater to leak from the bottom, but the water heater leaking from the top is not that usual.
That is because sediments accumulate at the bottom, where they corrode the container until holes or cracks manifest. Drain valves also leak frequently.
A unit leaking from the top is caused by rusted or slack water inlet or outlet pipe fittings, thermal expansion tank, shut-off valve connections, etc.
A leaky top seam can also cause it to leak from the top. If the leak is serious, disconnect your water supply instantly until it is resolved.
If the leak is slow and manageable, you can continue utilizing the device until troubleshooting it.
A hot water heater leaking from top hot water outlet is not hazardous since pressure is released, so there is no threat of the boiler exploding.
If the appliance is leaking rapidly, the water can impair your property.
Furthermore, if the water comes into contact with your skin, it can severely burn.
Thereby, troubleshooting the leak swiftly is essential.
Also Read: Water Heater Leaking From The Bottom?
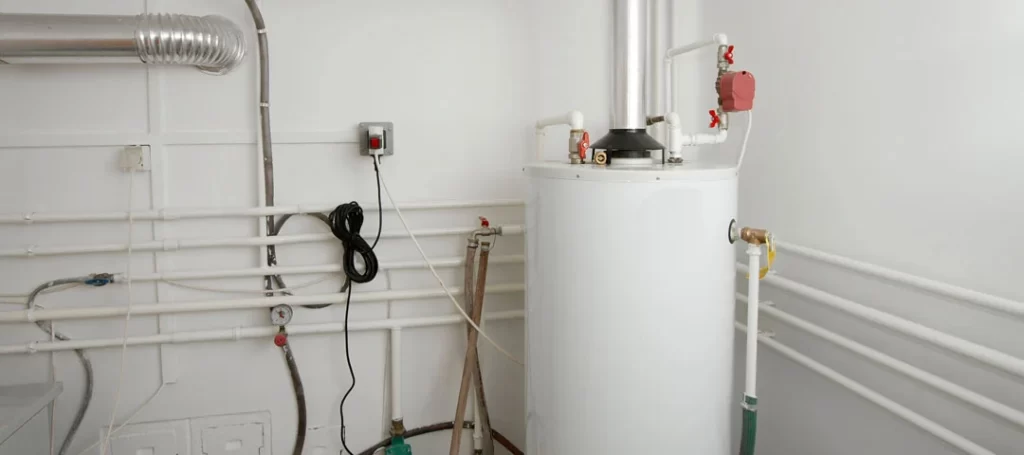
8 Reasons Why Your Hot Water Heater Leaking From The Top?
Here are common reasons why is my water heater leaking from the top and how to fix each issue.
1. Loose Pipe Fittings
Loose pipe fittings are one of the prime reasons for hot water tank leaking from top.
Water heating systems have too much pressure on them.
Loose pipe fittings mean the pressure development will take water up a weak point to discharge.
Occasionally, examine your unit’s pipe fittings: the dielectric nipples.
These nipples incline to become rusted or loose over time. If they are just loose, you will need to tighten them.
However, if they are corroded, you will need to replace them.
When you witness rust on the pipe fittings, it’s vital to inspect your heater thoroughly.
External symptoms of rust indicate a serious internal problem, and your heater may require replacement.
Otherwise, the inlet and outlet fittings will need to be replaced.
2. Hole In The Top
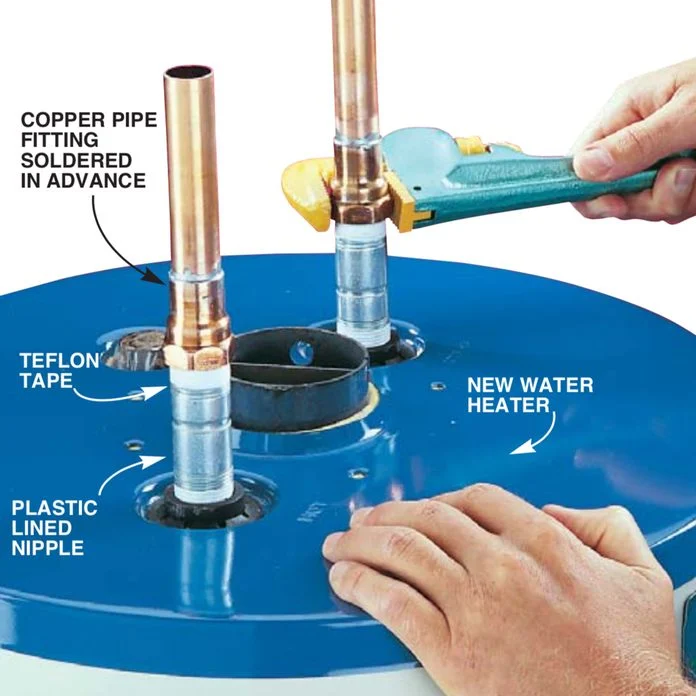
Another key reason for the water heater leaking from top plastic plug is a hole in the top.
Corrosion is the major issue with water heaters, especially if you don’t replace the anode rod.
Your device’s tank can corrode inside out, resulting in a hole on your heater’s top where it can leak.
Sadly, if you discover rust in the top or inside your unit, especially an amount that leads to a hole in the container’s top, you will need to replace your water heating machine.
3. Leaky Top Seam
If you witness water leaking around the top seam, there is probably a leak at the top-mounted temperature and pressure relief valve, hot water outlet, cold water inlet, or anode rod.
The outer cover does not have any water. It houses the insulation around the boiler.
If the leak is big, the insulation may be soaked. A leak that is coming from the top seam is possibly due to a leak at one of the threaded fittings that move through the external shell to the internal container.
Water seeping out from one of these connections is stuck between the external shell and the internal boiler.
If the inner container were leaking, the leak would be larger. Drain the tank’s top third partially. Examine and repair the fittings.
Moreover, find out corrosion on the threaded fittings. If the damage is serious and the fittings are severely corroded, you will need to replace your heater.
4. Faulty Temperature And Pressure Relief Valve
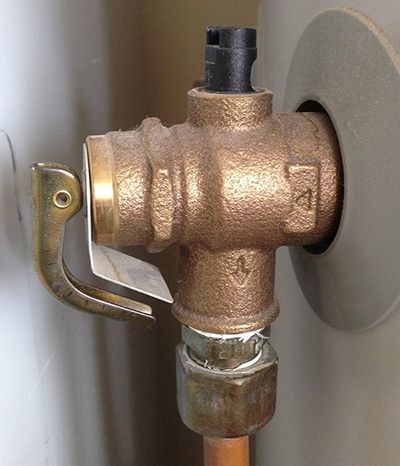
The T&P valve is either situated on the top or side of the boiler. Check its location closely.
If you notice water leaking from the valve’s threads, remove it to figure out if it is a problem.
Generally, you will need to replace the valve if it’s the issue. They are deployed for protection, and you want to guarantee that it’s in good condition.
If it’s faulty, avoid using your device; otherwise, you could risk an explosion.
5. Leaky Expansion Tank
A leaky expansion tank is also one of the top reasons for electric water heater leaking from top.
Most units are fitted alongside a smaller container known as an expansion tank. It usually sits up to the heater’s side.
It is responsible for gathering surplus water coming from your device.
As the water warms up, it expands, meaning it will outgrow the space inside the tank.
The water drives up the expansion tank to help decrease pressure levels inside the unit.
Over time and use, the tank can commence leaking. Examine the heater and expansion tank to locate the leak’s source.
Inspect the pipe fittings on the tank and tighten them with a wrench if they are loose.
If it does not troubleshoot the problem, you will need to replace the expansion tank.
6. Corroded Anode Rod
If your old model hot water heater leaking from top pressure valve, there might be a problem with a loose anode rod screw.
In older heaters, you will locate the anode rod at the tank’s top between the warm water supply outlet pipe and the cold inlet valve.
Typically, a malfunctioned rod does not lead to a water leak. Nevertheless, they are sacrificial.
The corrosive elements in the container react with the anode rod instead of eating away the unit’s internal lining, increasing its lifecycle.
The water produces bubbles and begins to creep up the rod.
This is when you will notice the water seeping out from the top. You should replace the anode rod every five years.
Besides, the anode rod connections can get rusted or loose. If you have not changed the rod in five years, change it immediately.
Opt for a zinc anode rod instead of a magnesium one.
7. Rainwater
Rainwater can also gather in the heater’s top, especially after severe storms with heavy rainfall.
Many people mistake this pool of water for a leak in their appliance.
If the rainwater gathers at your water heating machine’s top, this is not an issue.
Nonetheless, you should remove the water to inhibit any corrosion from manifesting.
It is also imperative to eliminate the water to be certain it was caused by the rainwater and not a leak.
8. Condensation
If your heater is old or have poor insulation, condensation may collect.
It takes place when there is temperature dissimilarity between the water within the container and the air surrounding it.
The most prevalent situations that create condensation on the heater are:
Gas burning and forming water vapor in the high-efficiency units
Newer water heaters after being filled with groundwater the first time
Older models of heaters with poor insulation
Overused heaters when household warm water usage depletes all the water in the container and causes it to fill up with cold water.
If your heater is brand new, having condensation upon the first container fill is normal. It will not continue.
If you own a high-efficiency device, condensation is also no problem.
Nevertheless, if your device is older with poor insulation, you should contact a plumber.
He will show you the right direction and recommend a more efficient water heater.
How To Stop The Water Heater Overflowing From Top?
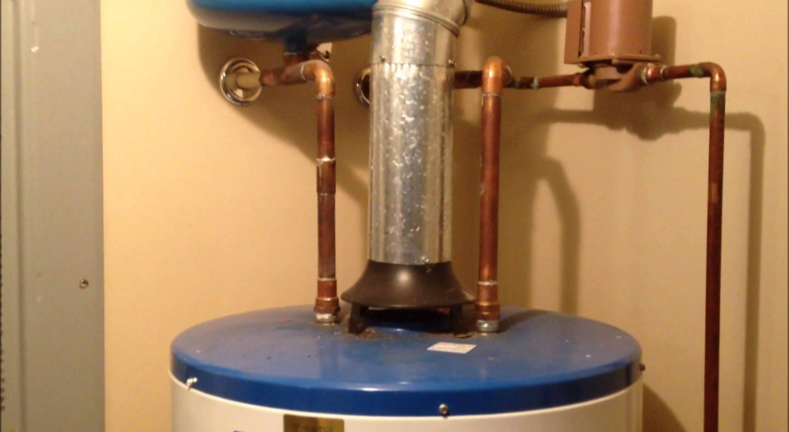
There are four ways to troubleshoot the water heater leaking from the top.
- Tighten any loose valves
- Replace the anode rod
- Replace loose and old valves
- Replace the water heater if necessary
You can either fix the leaking device on your own or hire the services of a professional plumber.
Expert plumbers charge hefty fees, so grab a wrench and a ladder, and get prepared to fix it yourself.
If a leak persists even after troubleshooting, you should consider replacing the unit.
A home inspector can help you decide on replacing the appliance or fixing the leak.
Here Is How You Can Fix A Water Heater Leaking From The Top.
Disconnect The Power To The Water Heater
Most water heating units have a dedicated 240 volts electric circuit.
Turn it off from the main, find out the two-pole breaker labeled “water heater,” and turn it off.
Then, look for the cold water inlet and deactivate it.
If you have a gas device, turn the gas valve to the off position.
The valve to the device should turn 90 degrees vertical to the pipe.
Remove Any Water
Dry off the area beneath the unit to see if the leak continues.
It will aid you in knowing if the container is broken and leaking.
The clean-up will enable you to know if your troubleshooting job was successful.
Tighten Loose Pipe Fittings
If you have ensured your leaks are due to loose pipe fittings, grab a wrench to tighten the fittings.
You can confirm it yourself or contact a plumber to check your heater’s leaking state.
If you want to do it yourself:
- Acquire a size-appropriate wrench and rotate the pipe fittings clockwise to the tightest fit.
- Rotate them anticlockwise to see the threading’s health.
- If the threading is unimpaired, utilize six rounds of tape and return the pipe fittings.
Replace The Temperature And Pressure Relief Valve
First, examine if the temperature and pressure relief valve operate. Flip it upwards.
If you hear a hiss, it means it is functioning properly.
If you don’t hear a hiss, it might be damaged and need replacement.
You can follow these steps to replace it:
- Drain the container until the level of water is below the valve.
- Open an adjacent warm water fixture to allow the air into the boiler.
- Detach the valve from the boiler using a pair of channel locks.
- Inspect for corrosion on the container by examining the hole where the T&P valve was positioned.
- If there is corrosion, you will need to replace your unit.
- Cover the valve’s threads in Teflon tape to seal the valve if the rust is not present.
- Then, attach the T&P valve back into the boiler.
Conclusion
If your water boiler leaking from top despite the fixes you make, don’t waste time and get in touch with an experienced plumber.
All top or bottom leaks are serious problems that must be addressed immediately to help avert severe mutilation from happening.


